After mastering the brush (filling in Chinese characters on practice books), Professor moved you to the 8 basic strokes. After a couple of weeks of copying Chinese characters, first by tracing from the 8 Basic Character Book and later you begin copying to the 8 Chinese square paper. When you were finished with the 8 Basic Character Book and Professor Young was satisfied with your writing, he would move you to the Chinese Character Construction Book. This book would teach you how to construct various Chinese characters of different complexities. Throughout Professor Young’s classes, he demonstrated many times and on an individual basics.
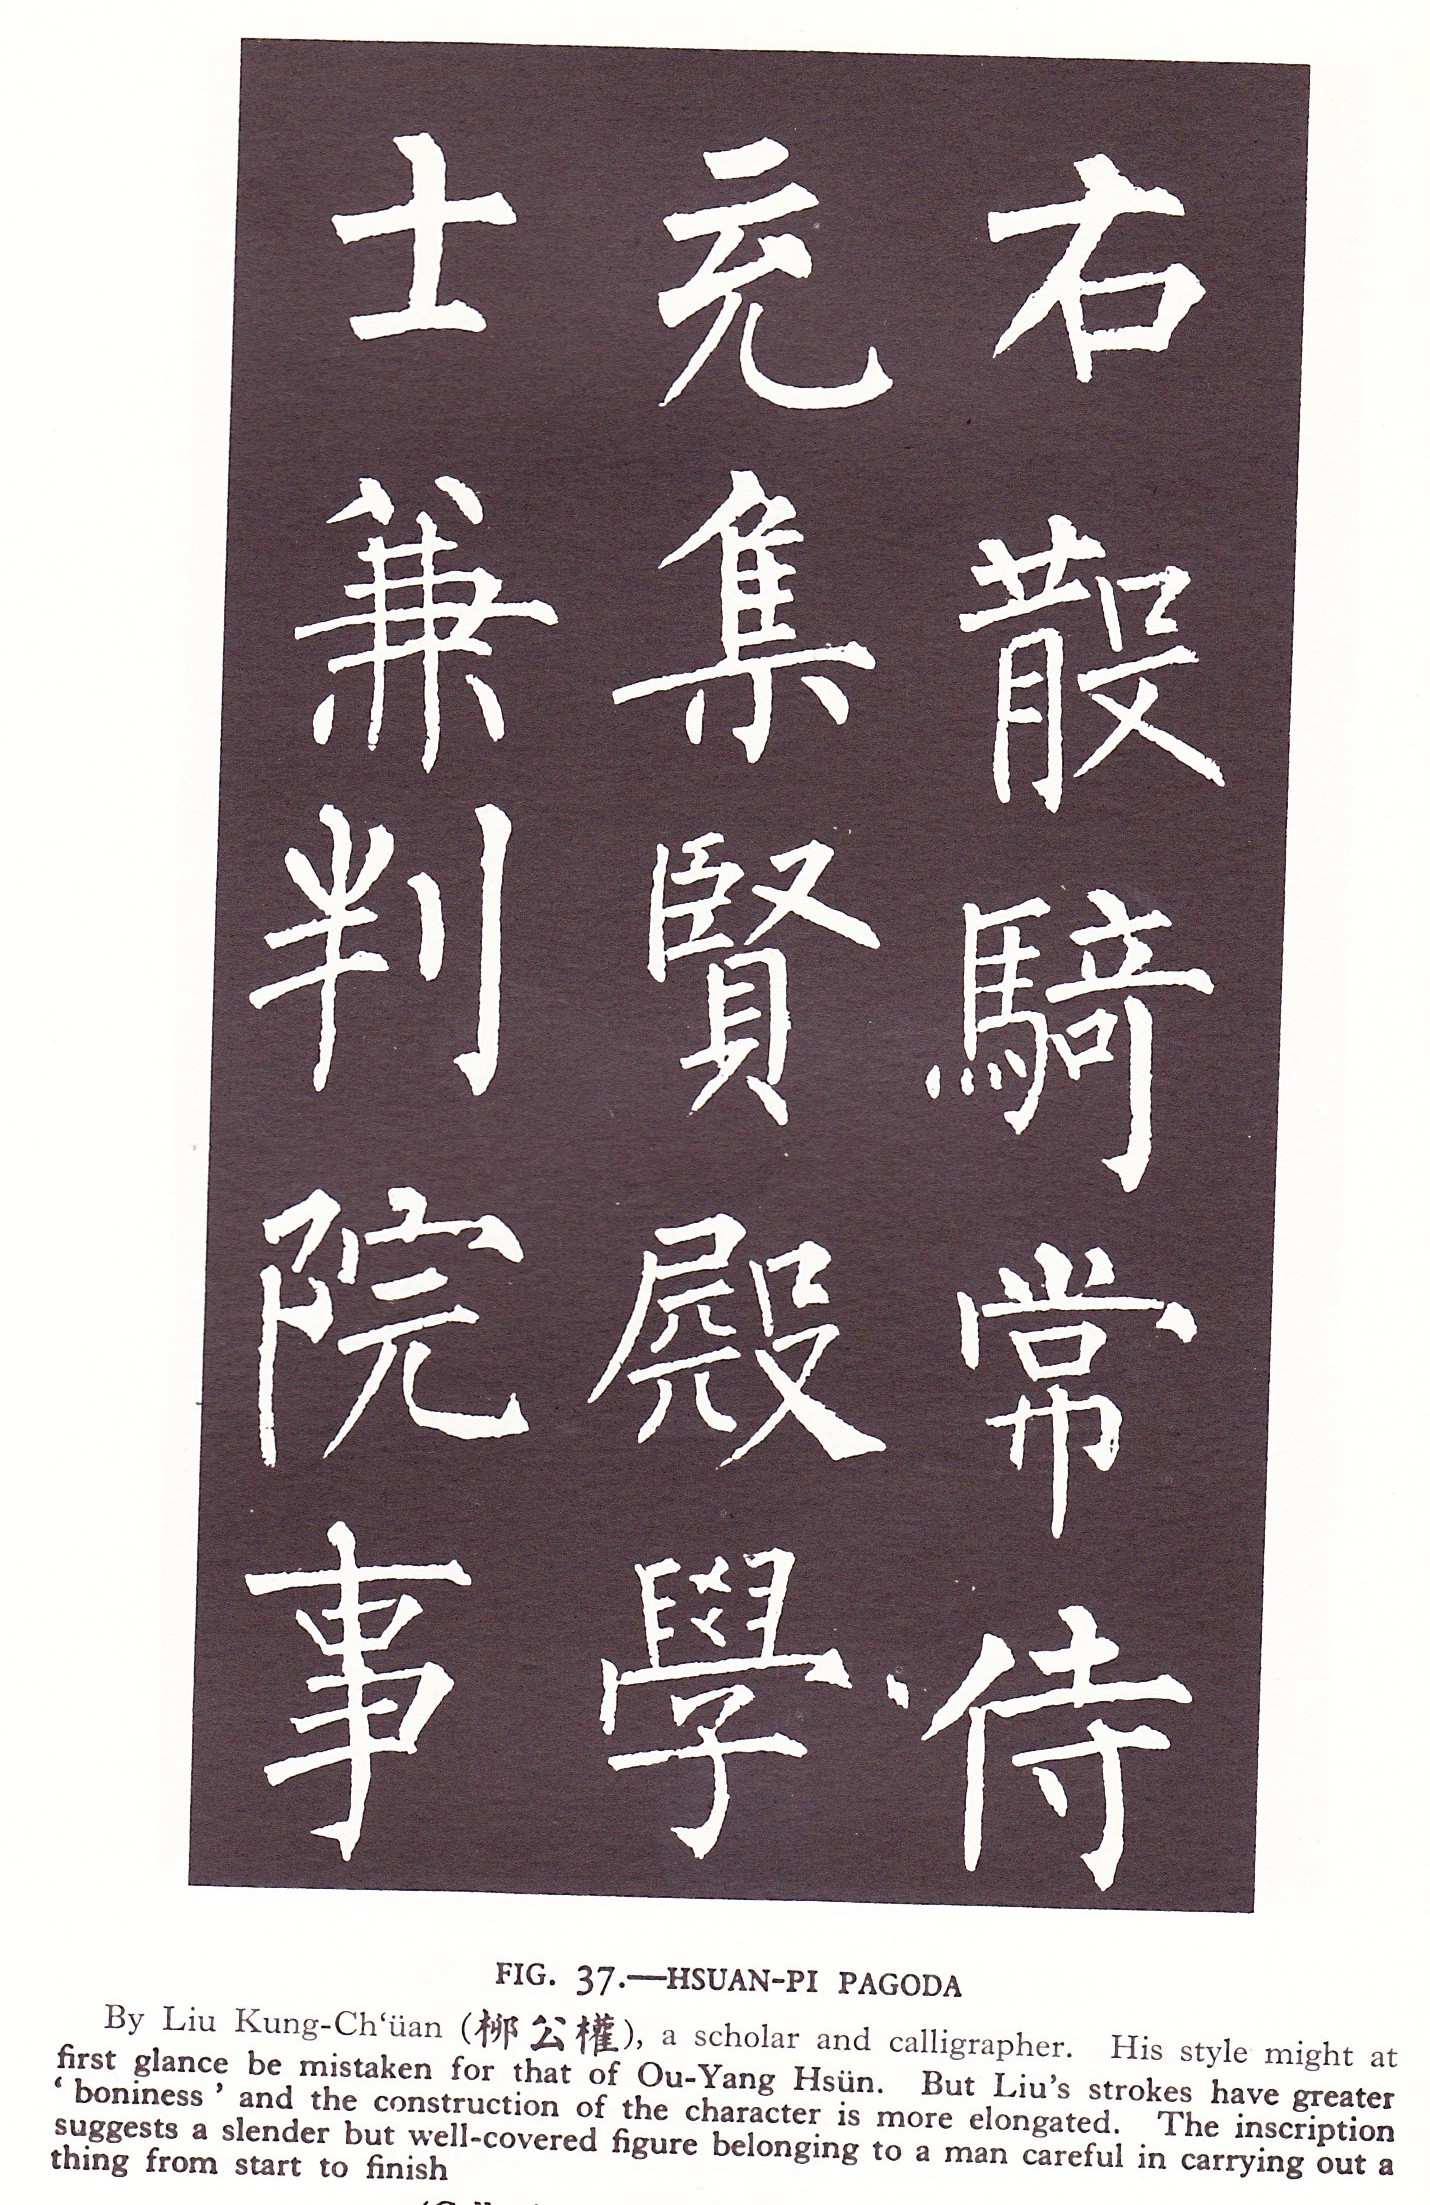
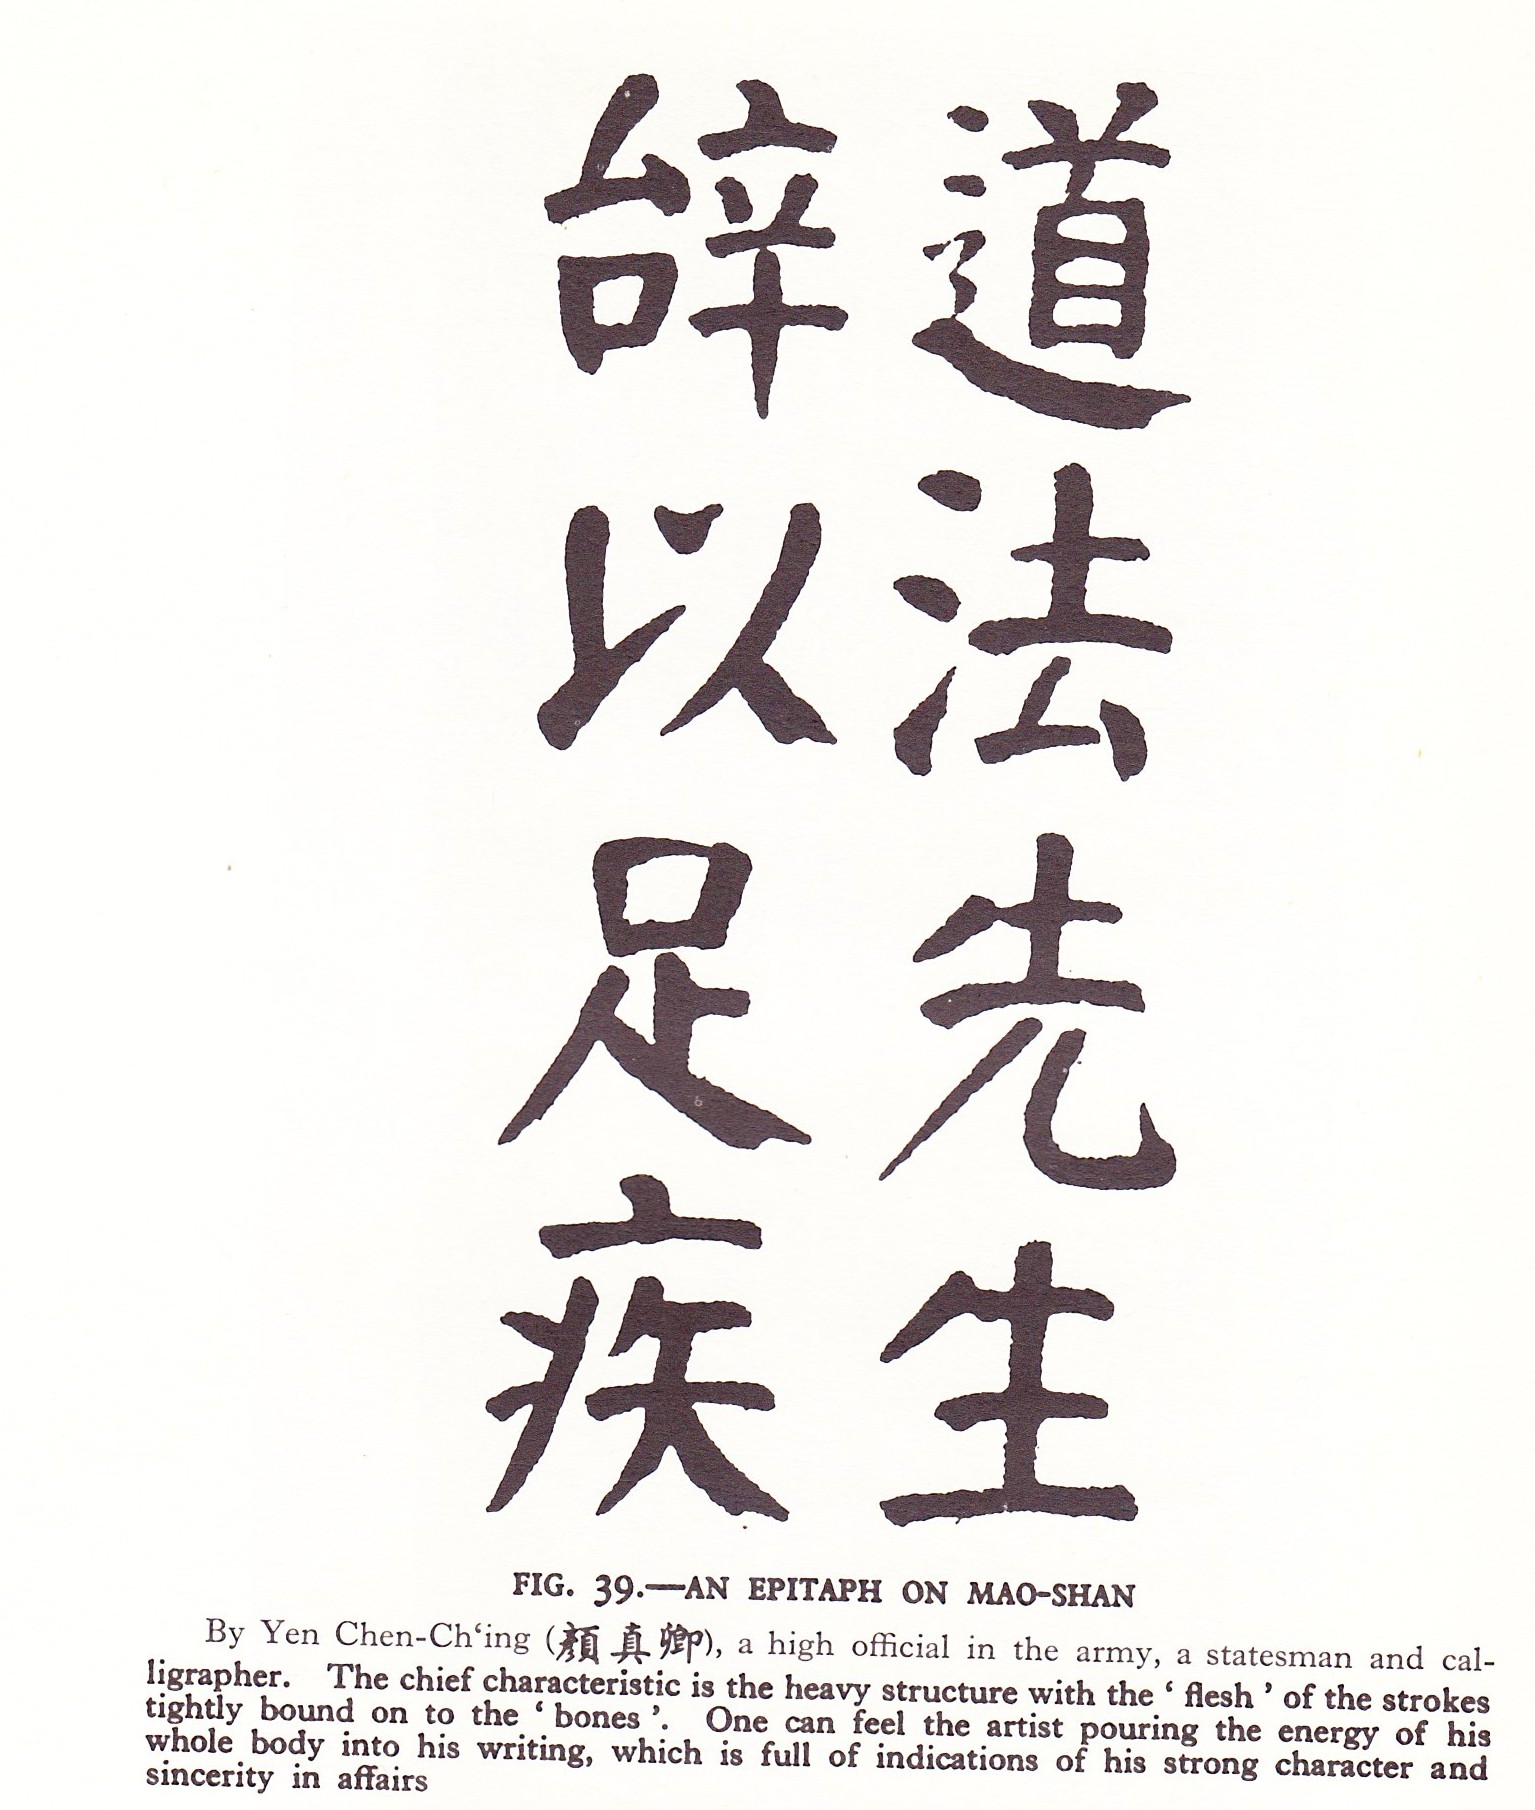
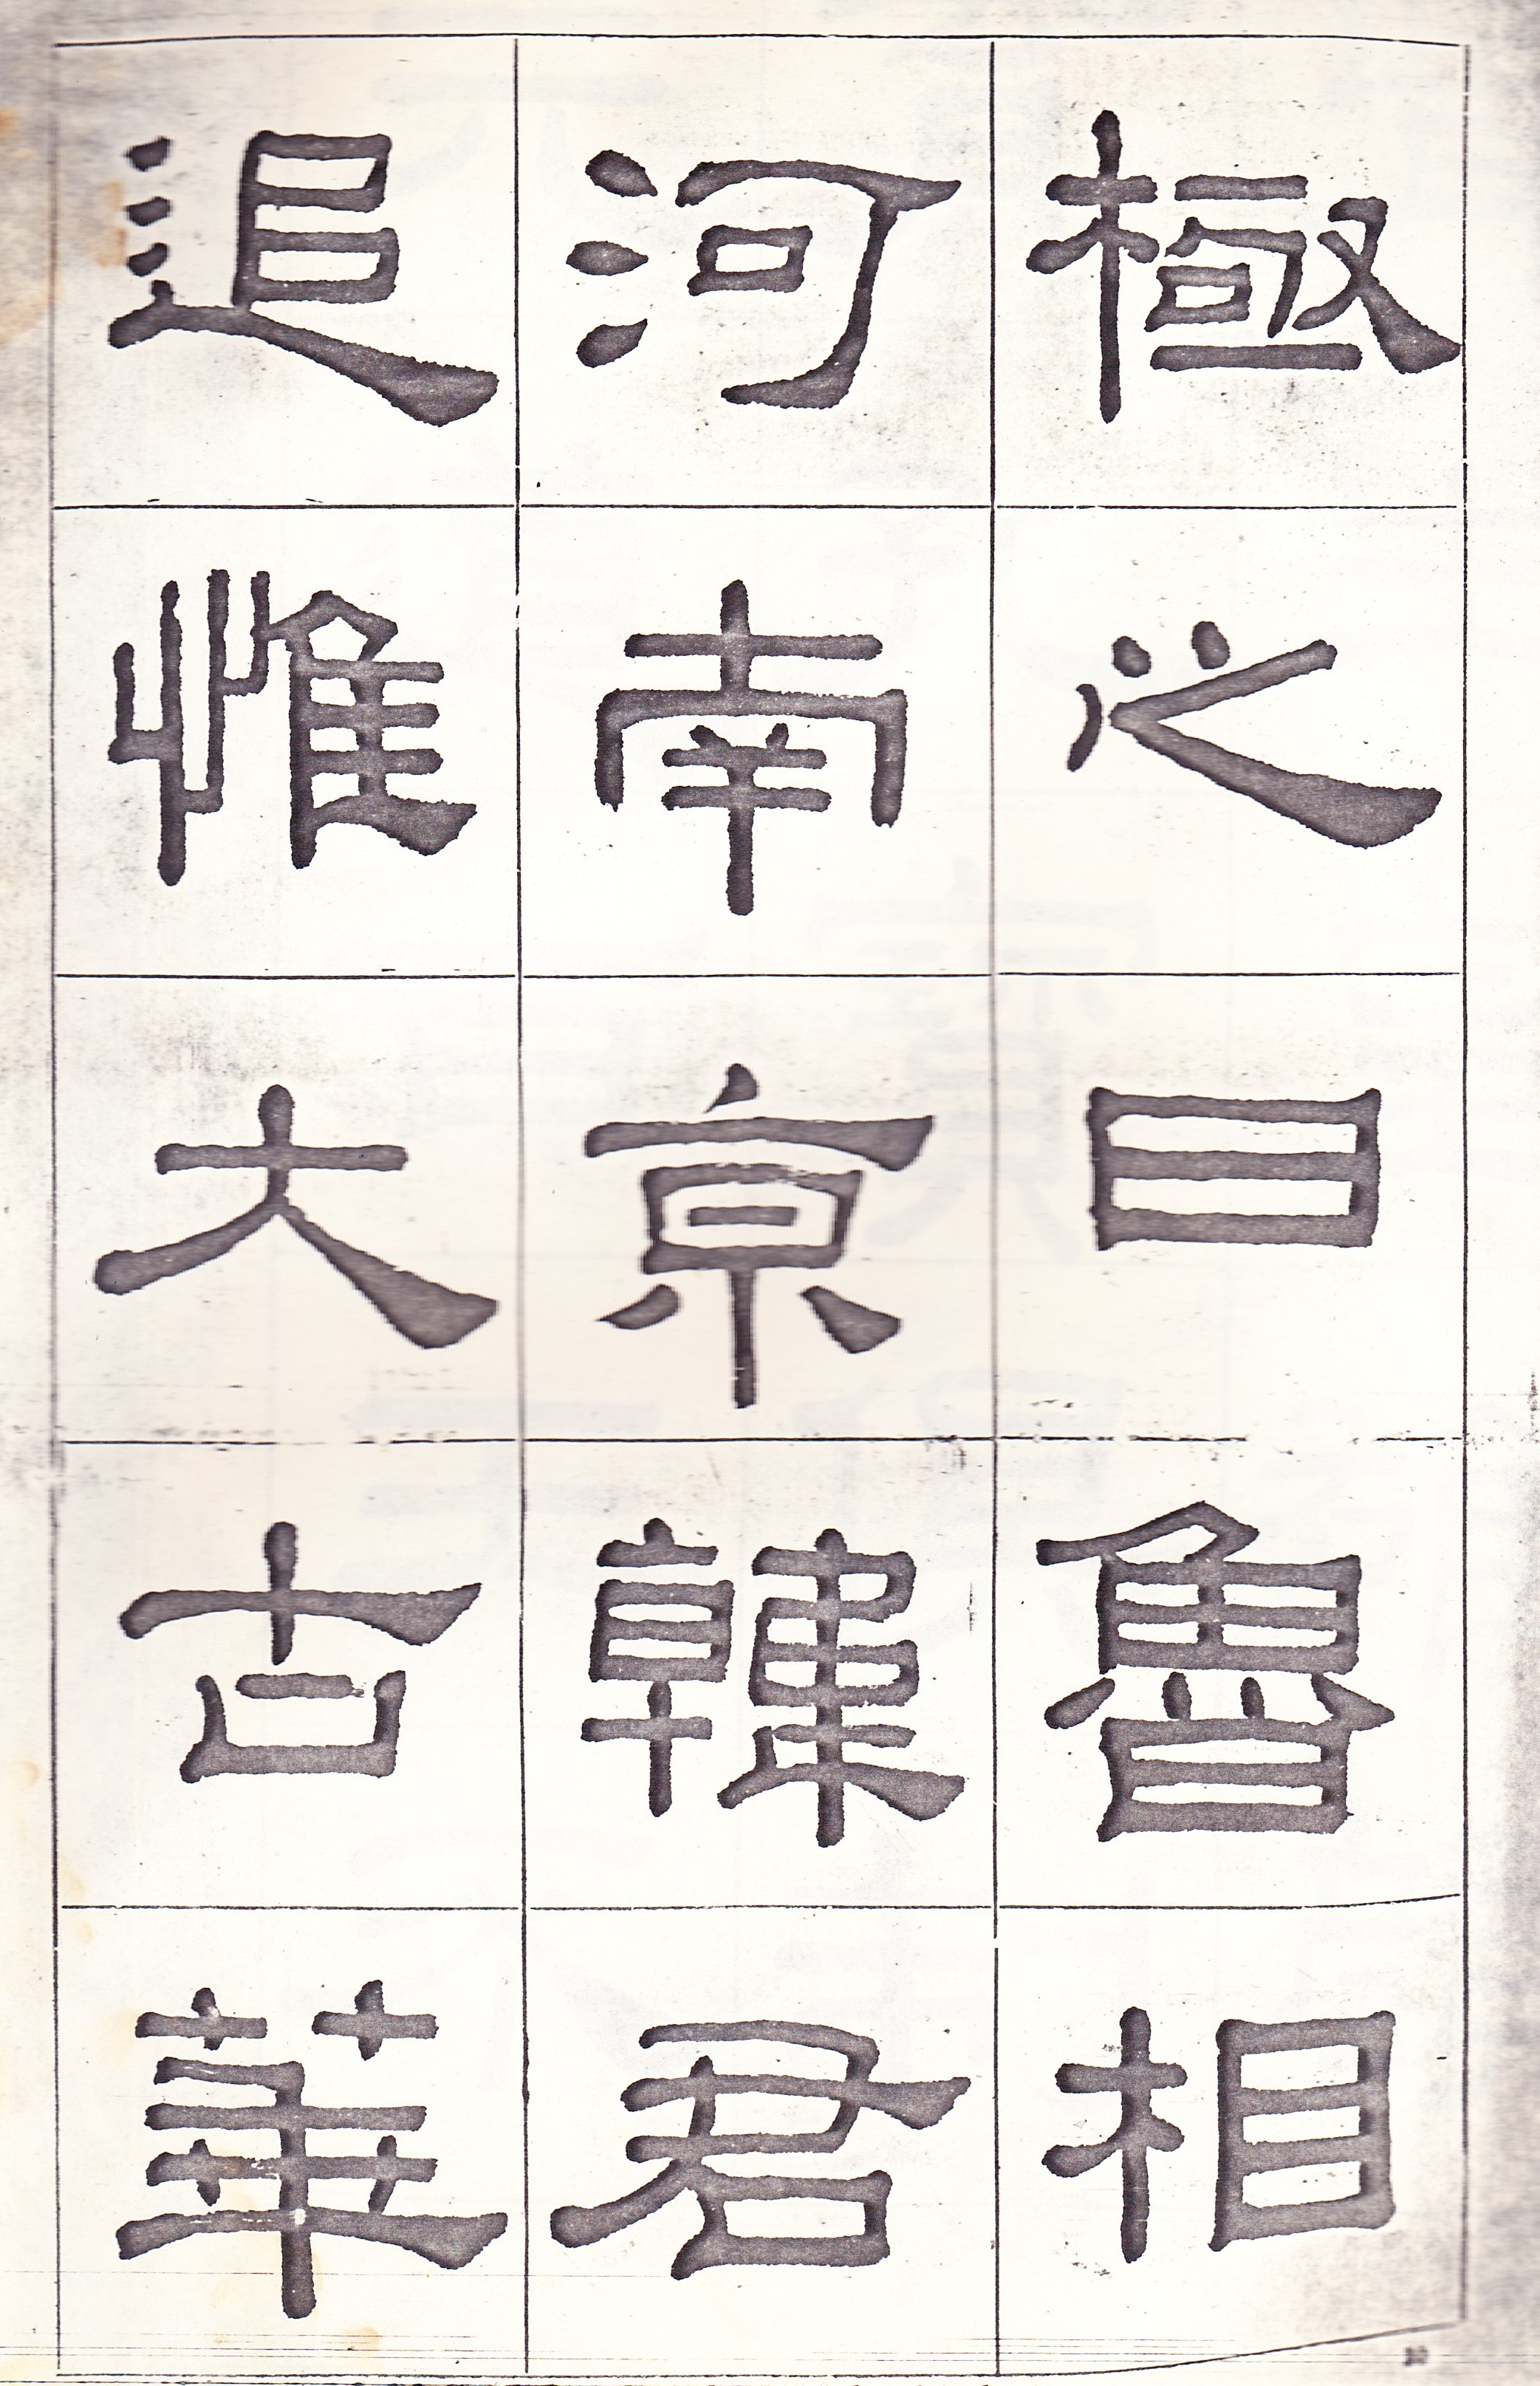
Once you learned the 8 Basic Character and Chinese Character Construction, Professor Young moved you to copying Chinese classics. Everyone would start with the Printed style (Kai-Shu). The teacher wanted you to be well rounded so he would teach two of the most famous Kai-Shu classics by the famous Chinese calligraphers: Yen Chen-Ching and Liu Kung-Chuan. After Kai-Shu the students were moved to either Shing-Shu (Running or Cursive style) or Li-Shu (Official style) depending on the individual student. Professor wanted me to be more disciplined and write more slowly so he taught me Li-shu first then later Running style. The last style to learn was the Seal style (Chuan-shu). Our class was made up of different levels of students from beginners to advanced.
There are some variation of each style and also many calligraphers mixed styles such as Shing-Kai (mixture of Running style & Printed style) or Shing-Li (mixture of Running & Official style).
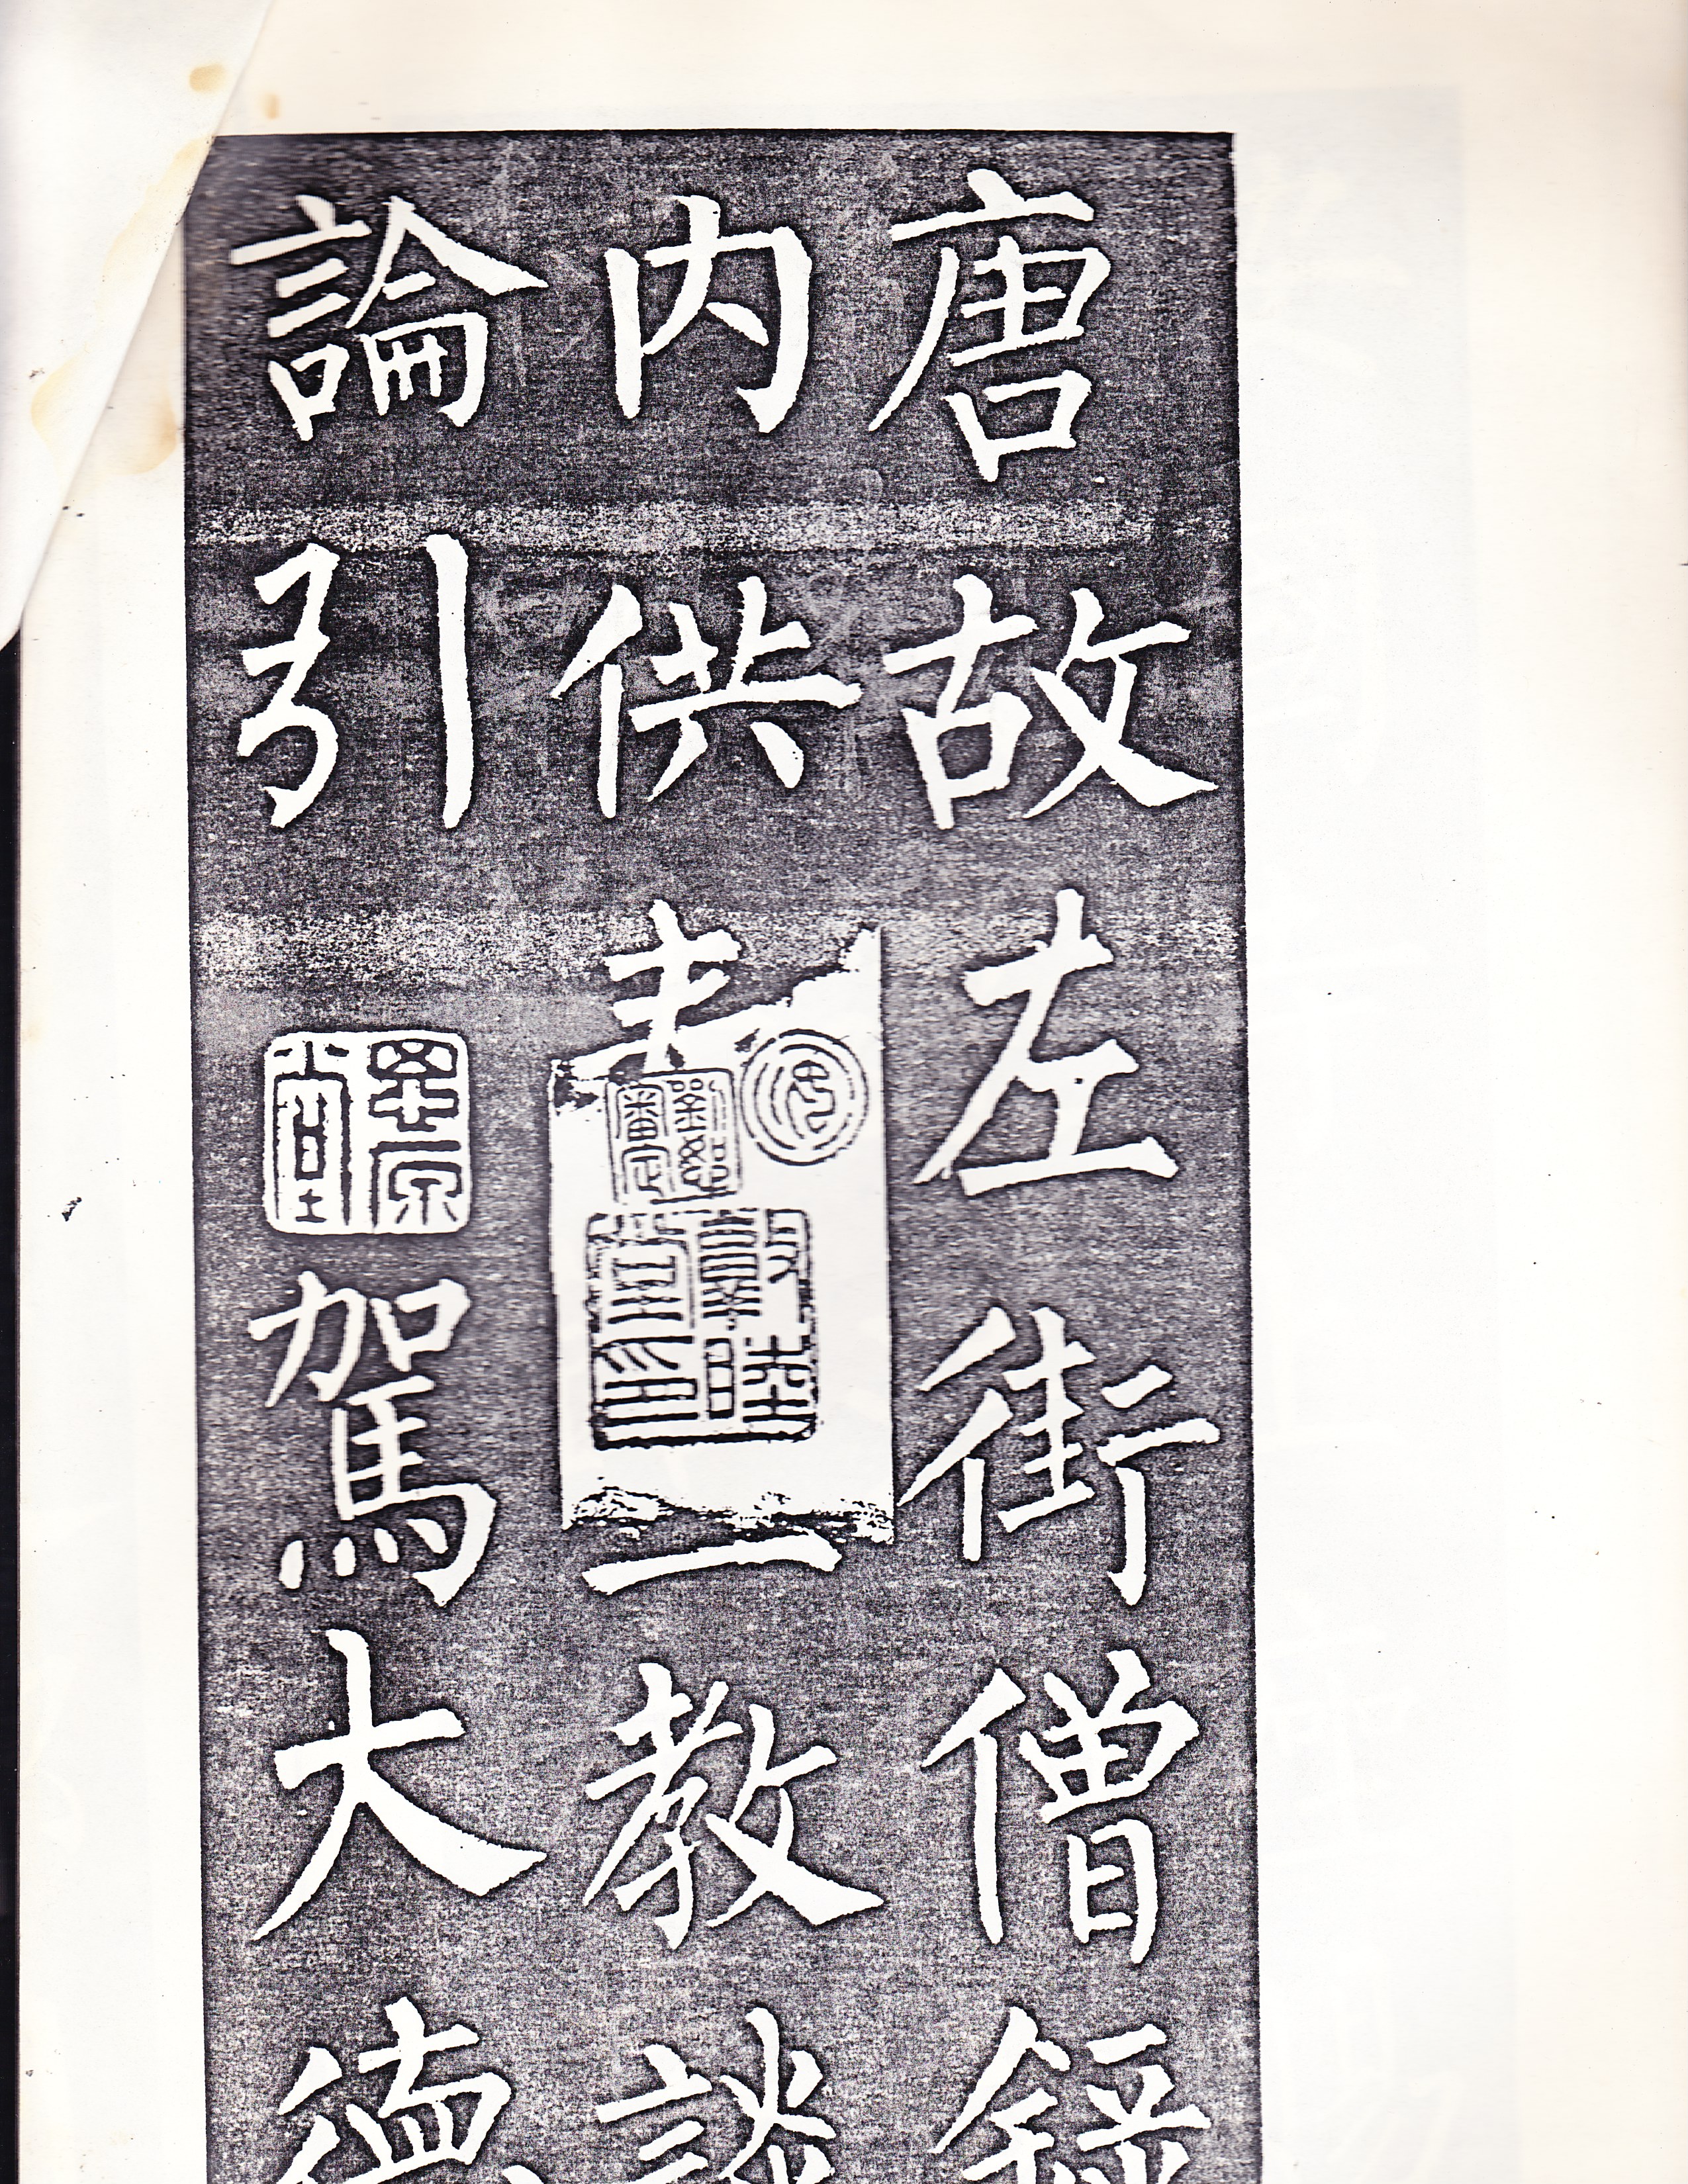
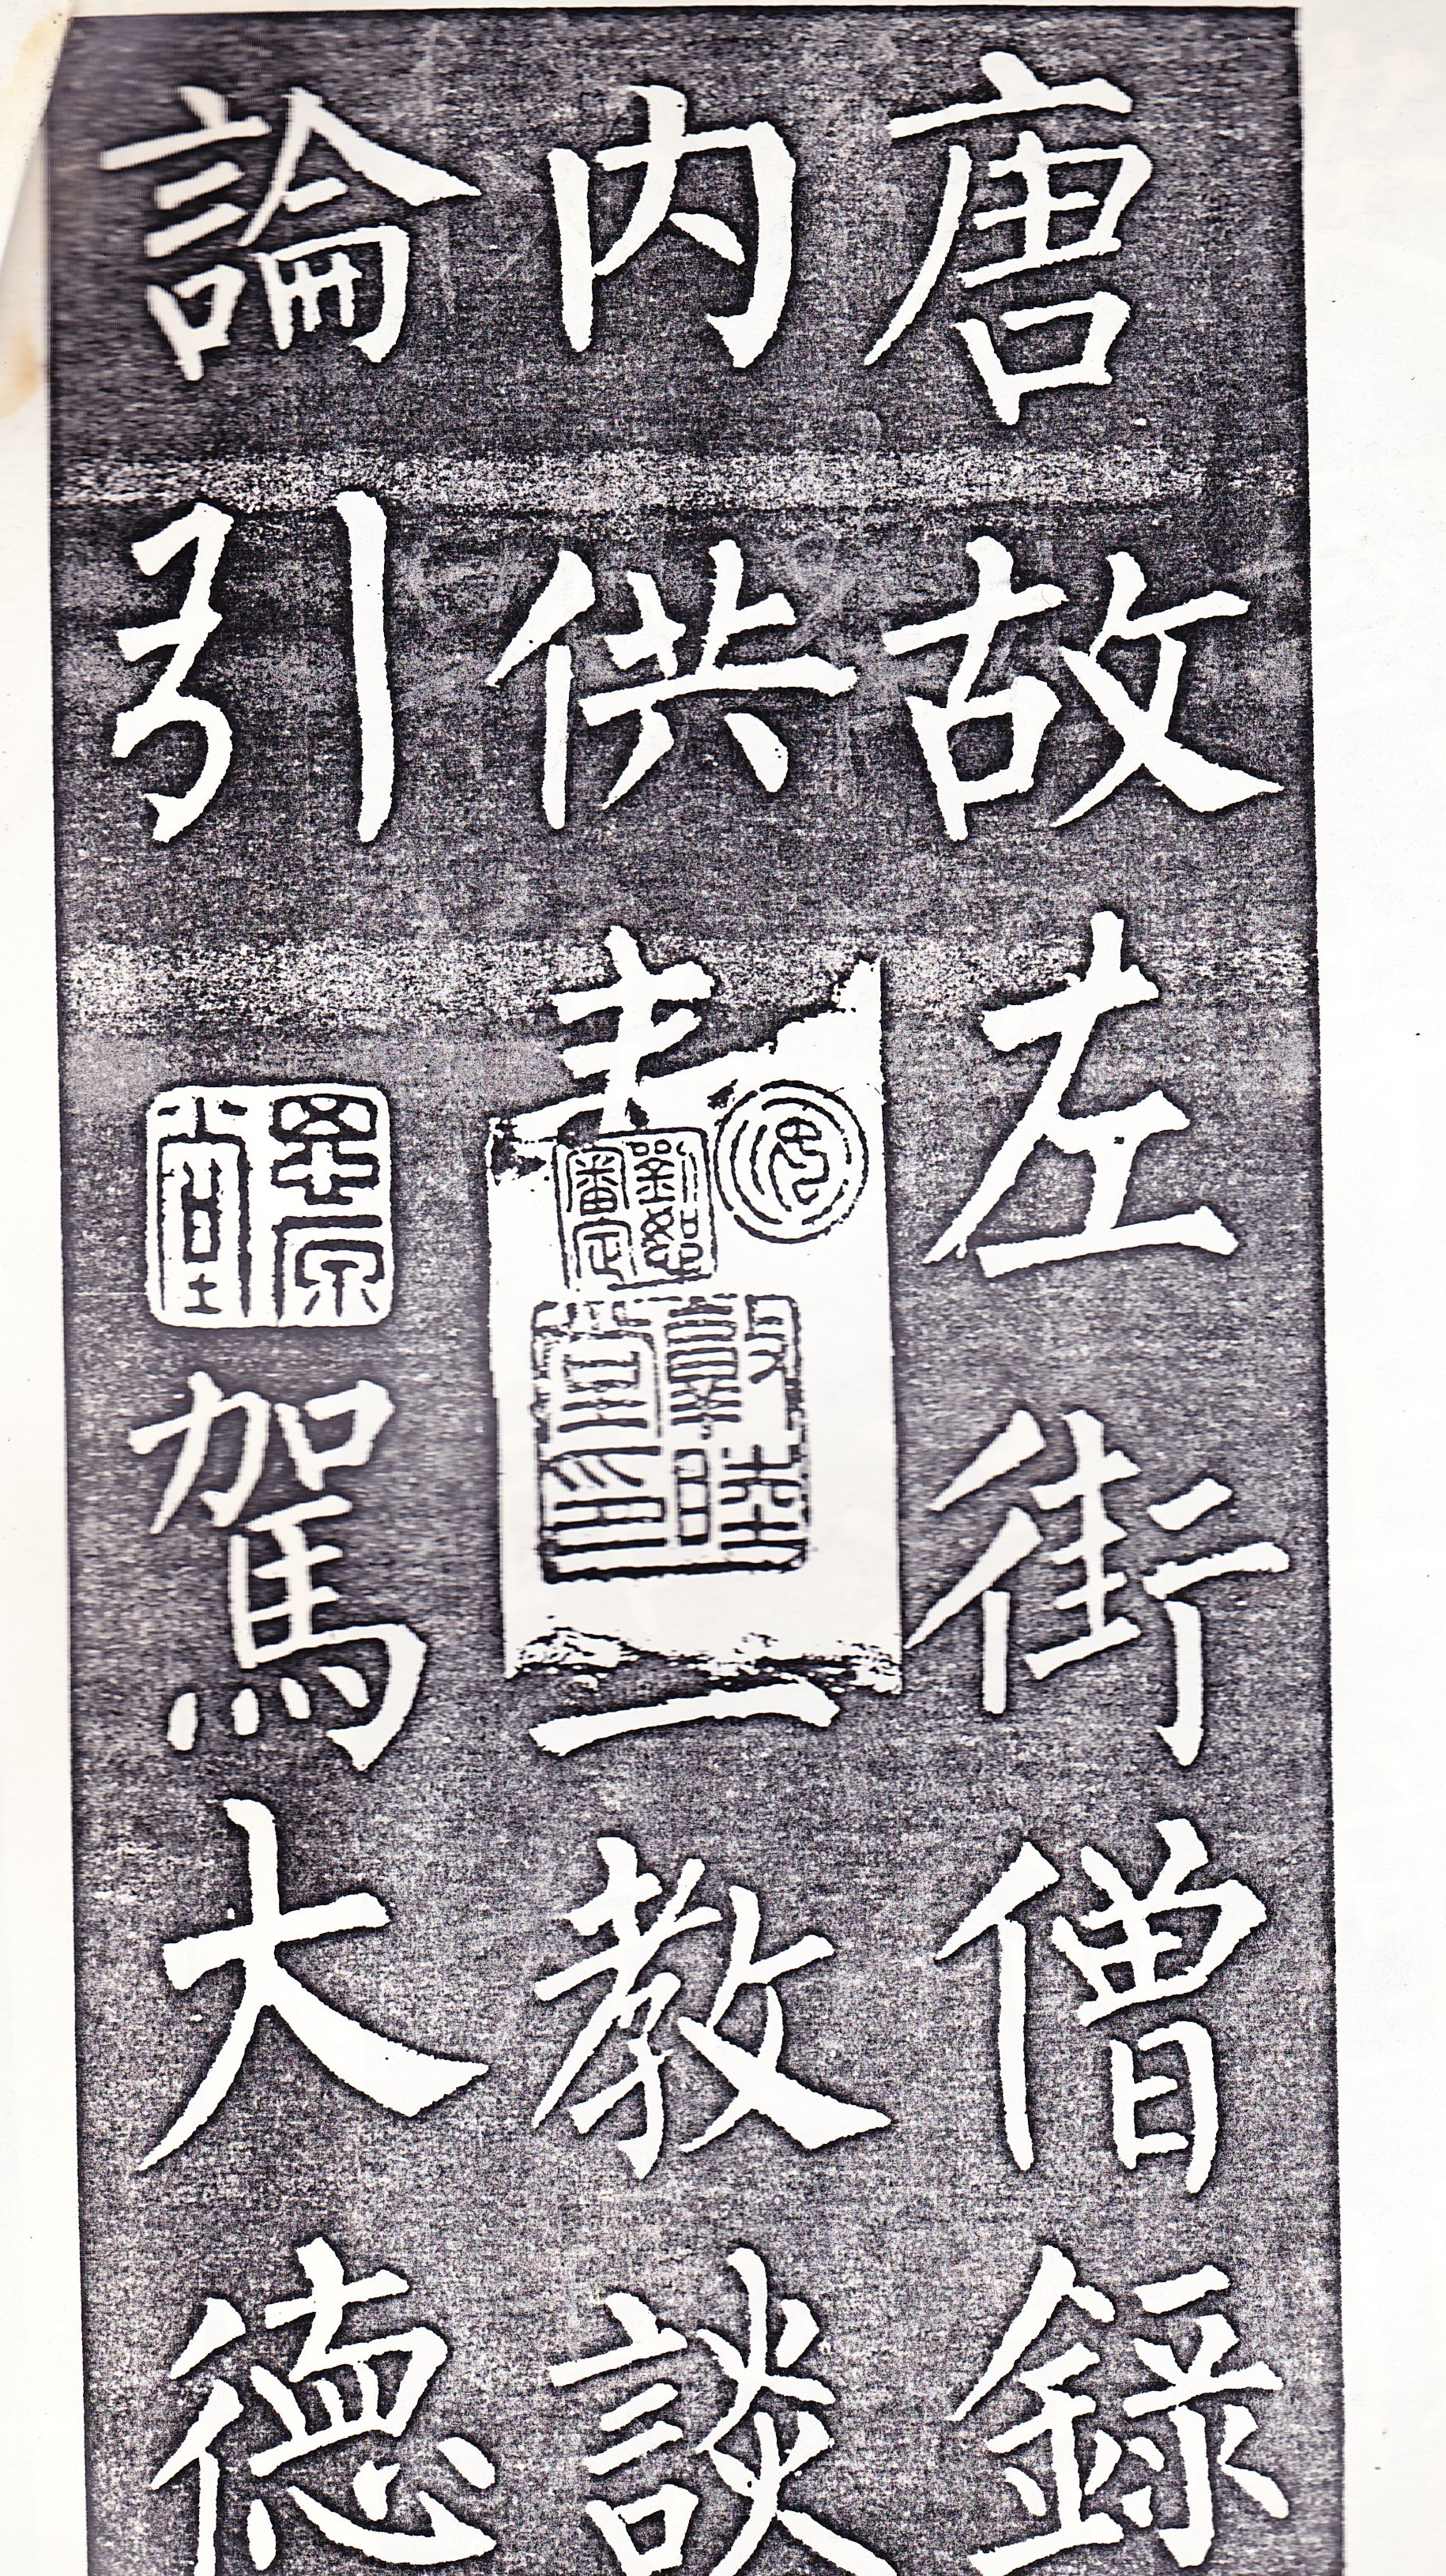
Below I have two examples of Kai-Shu written by Yen Chen-Ching and Liu Kung-Chuan
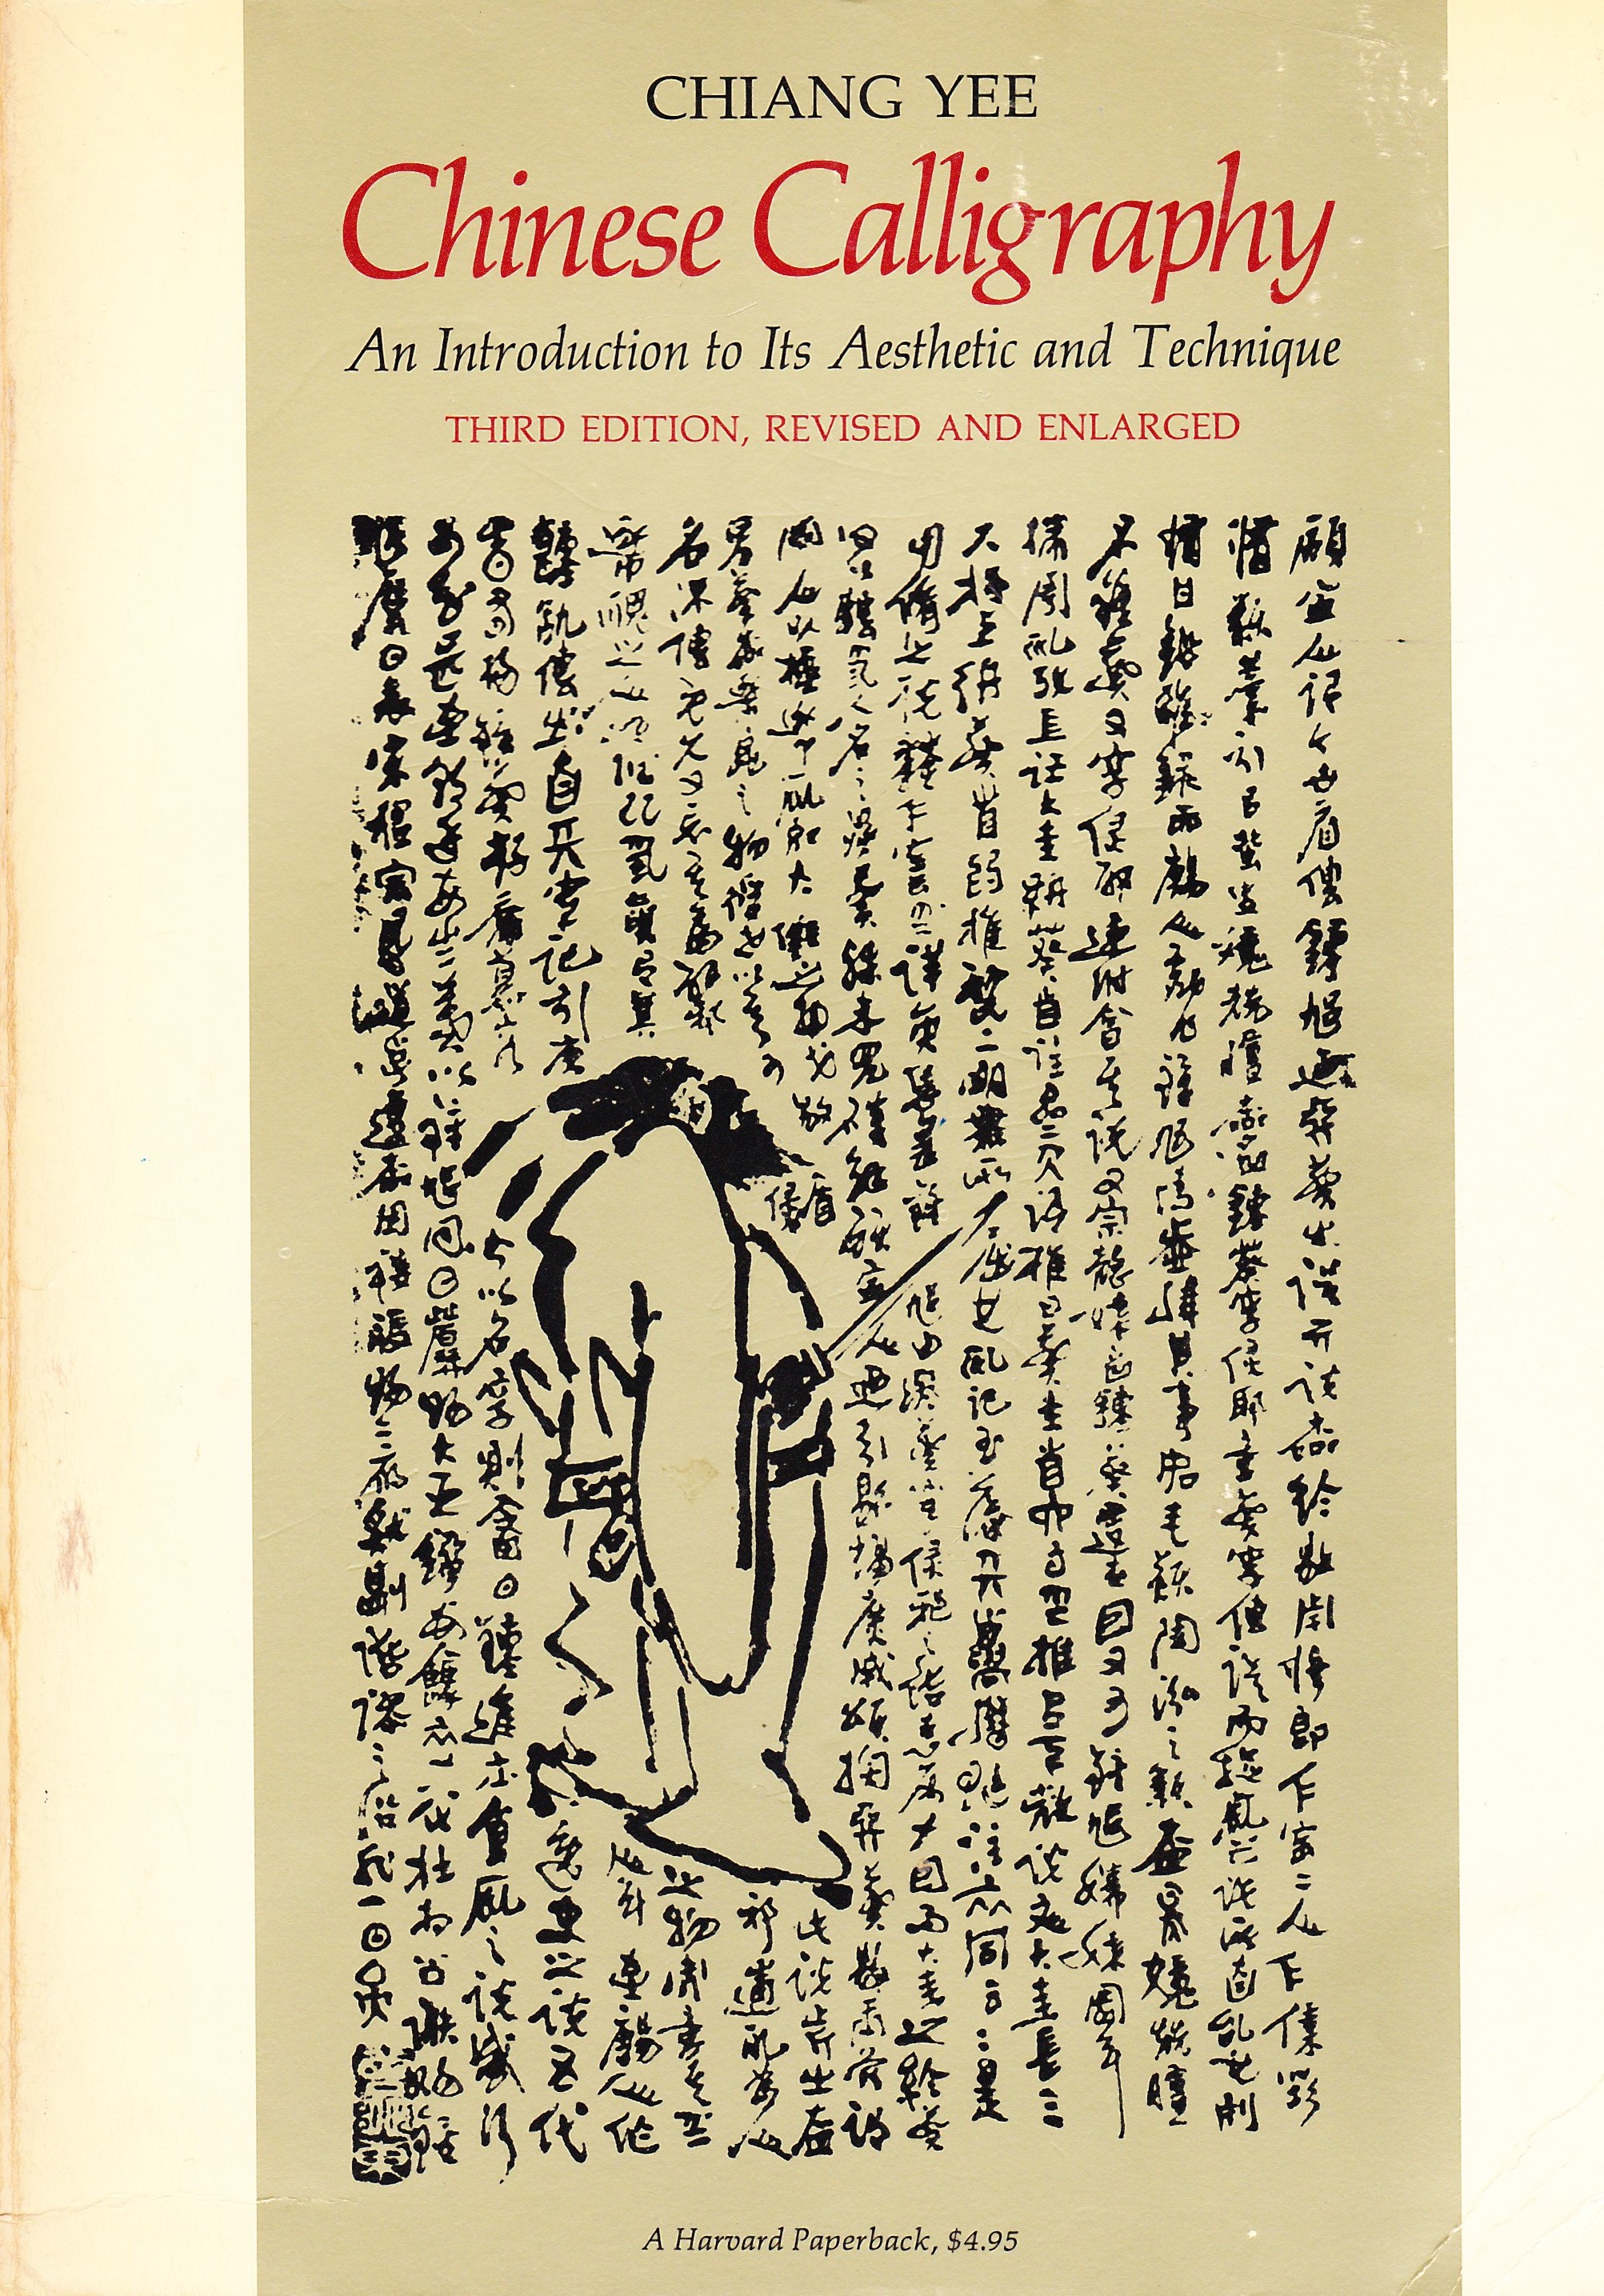
A great reference book on Chinese Calligraphy below:
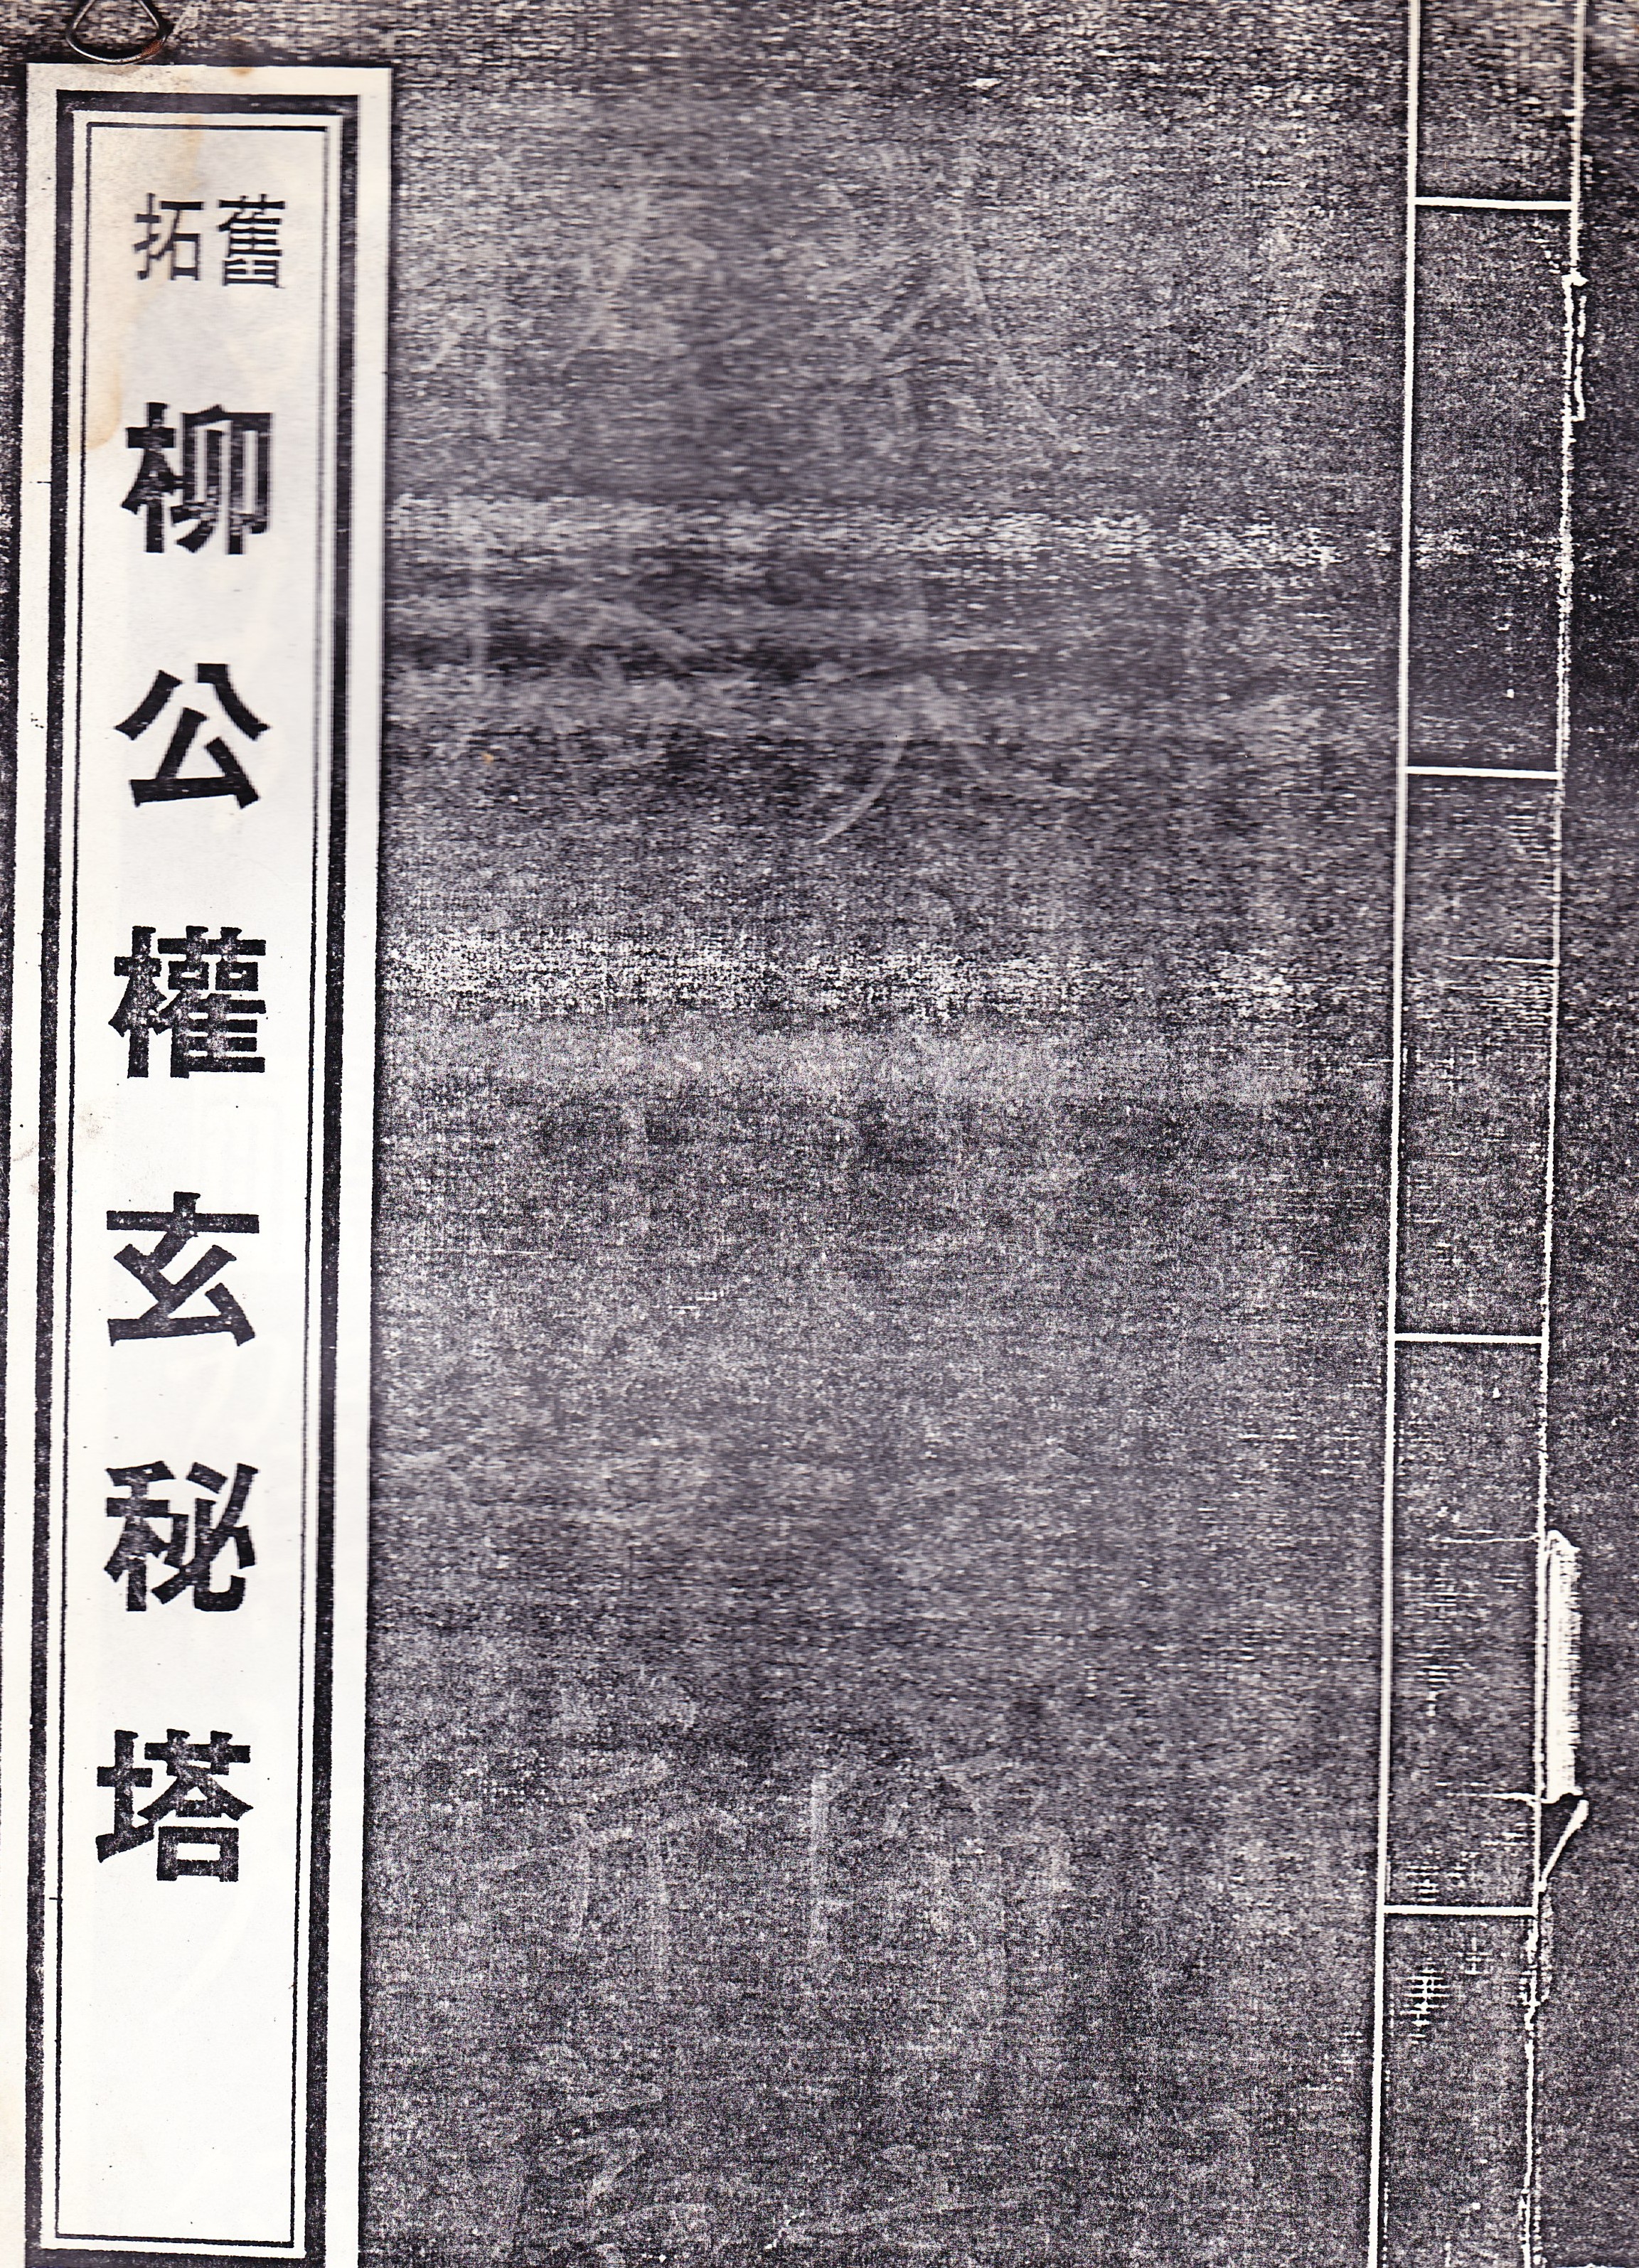
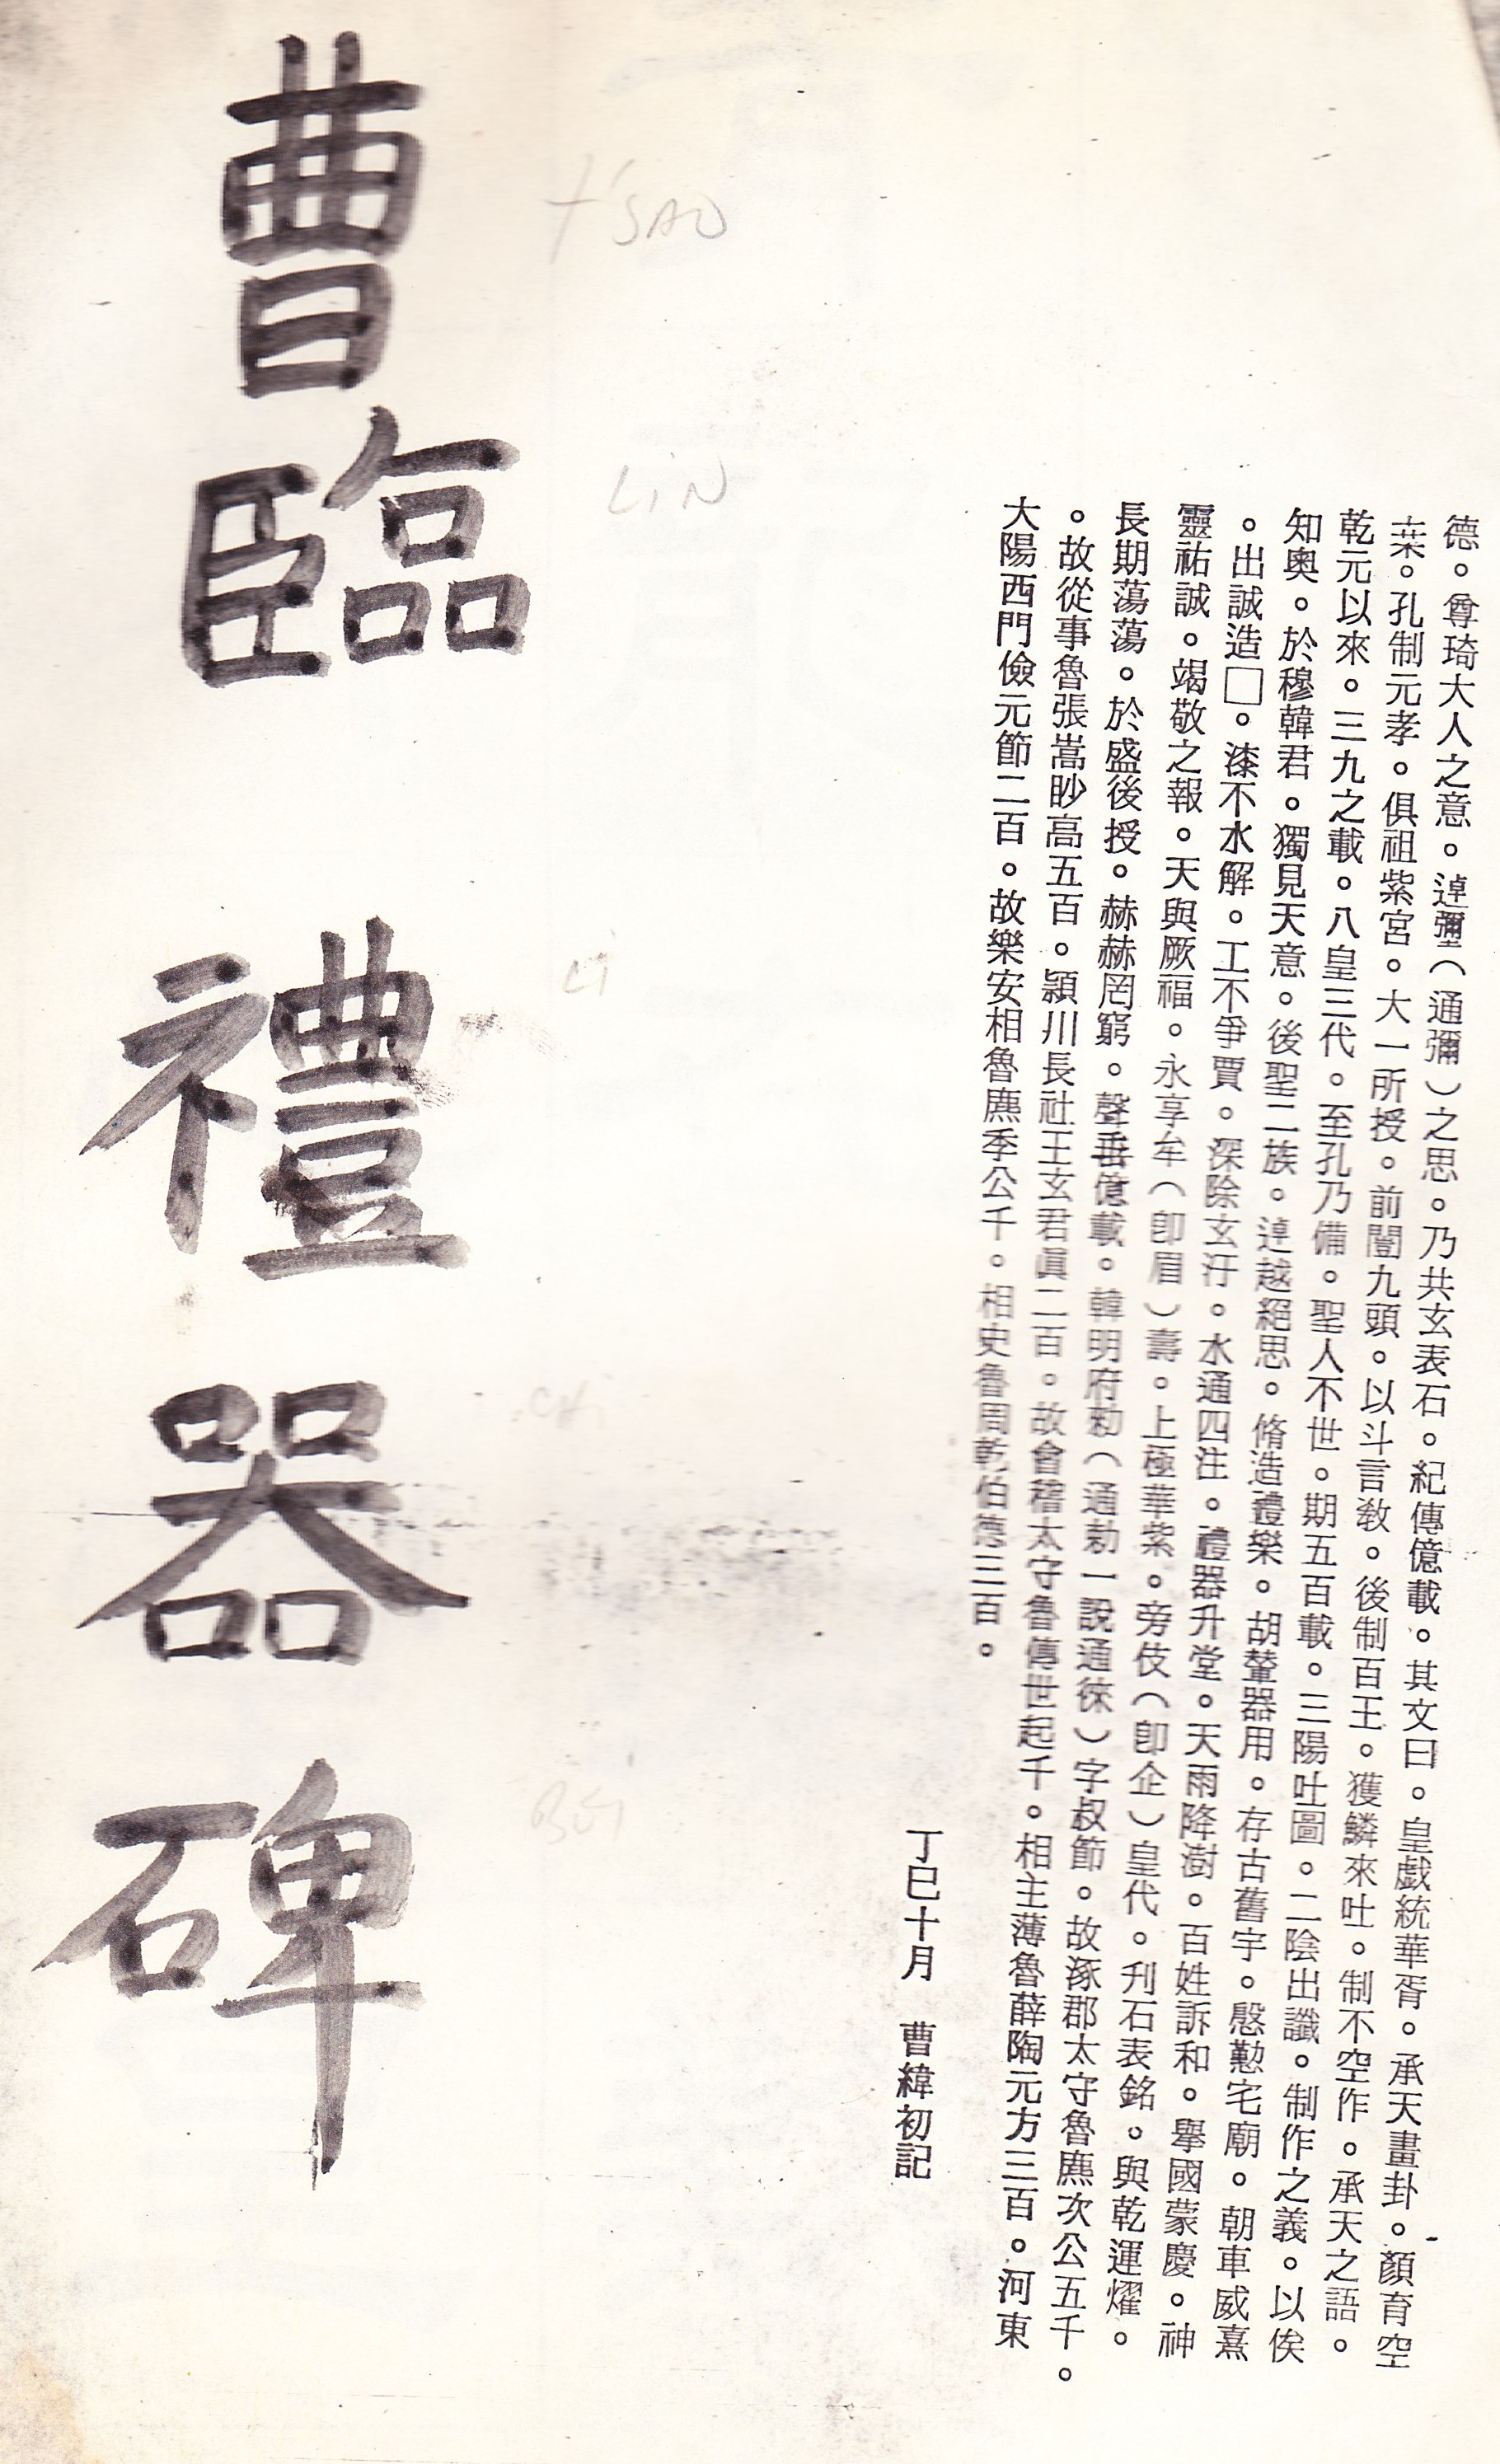
Below is the manual of Liu Kung-Chuan that I used to practice from.
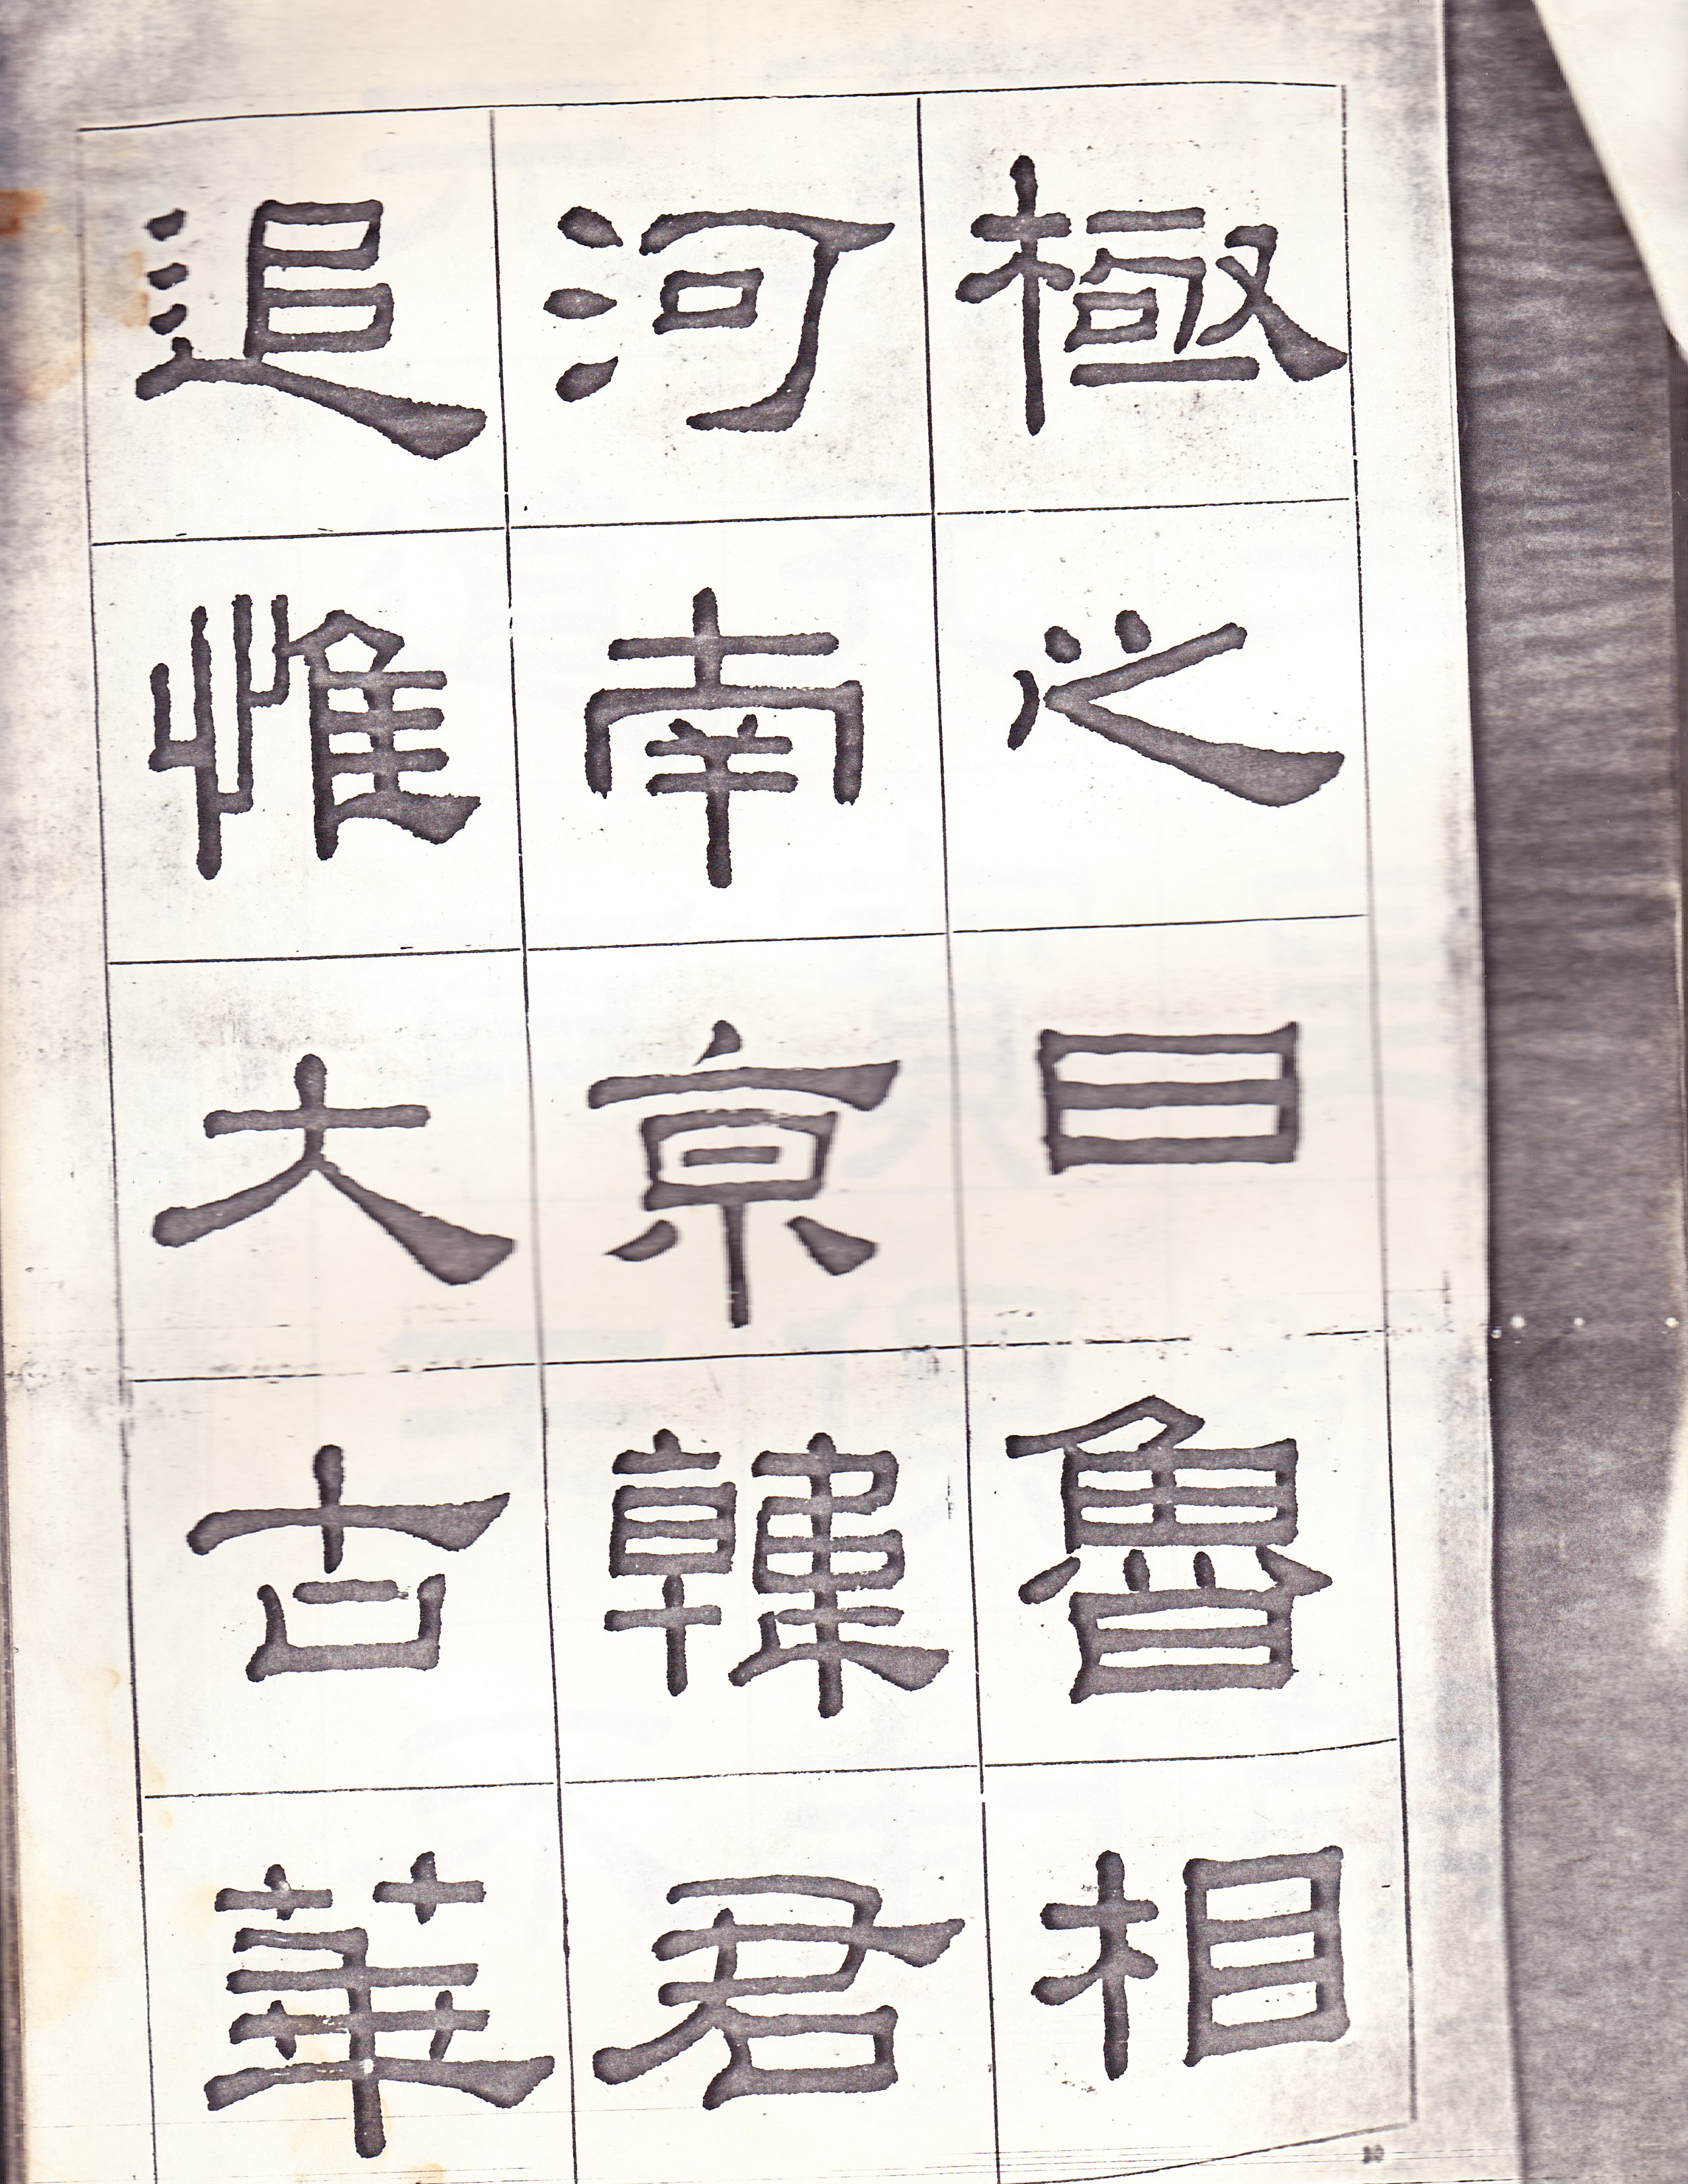
Below is Li-Shu (Official style) – famous Li Chi Bei

